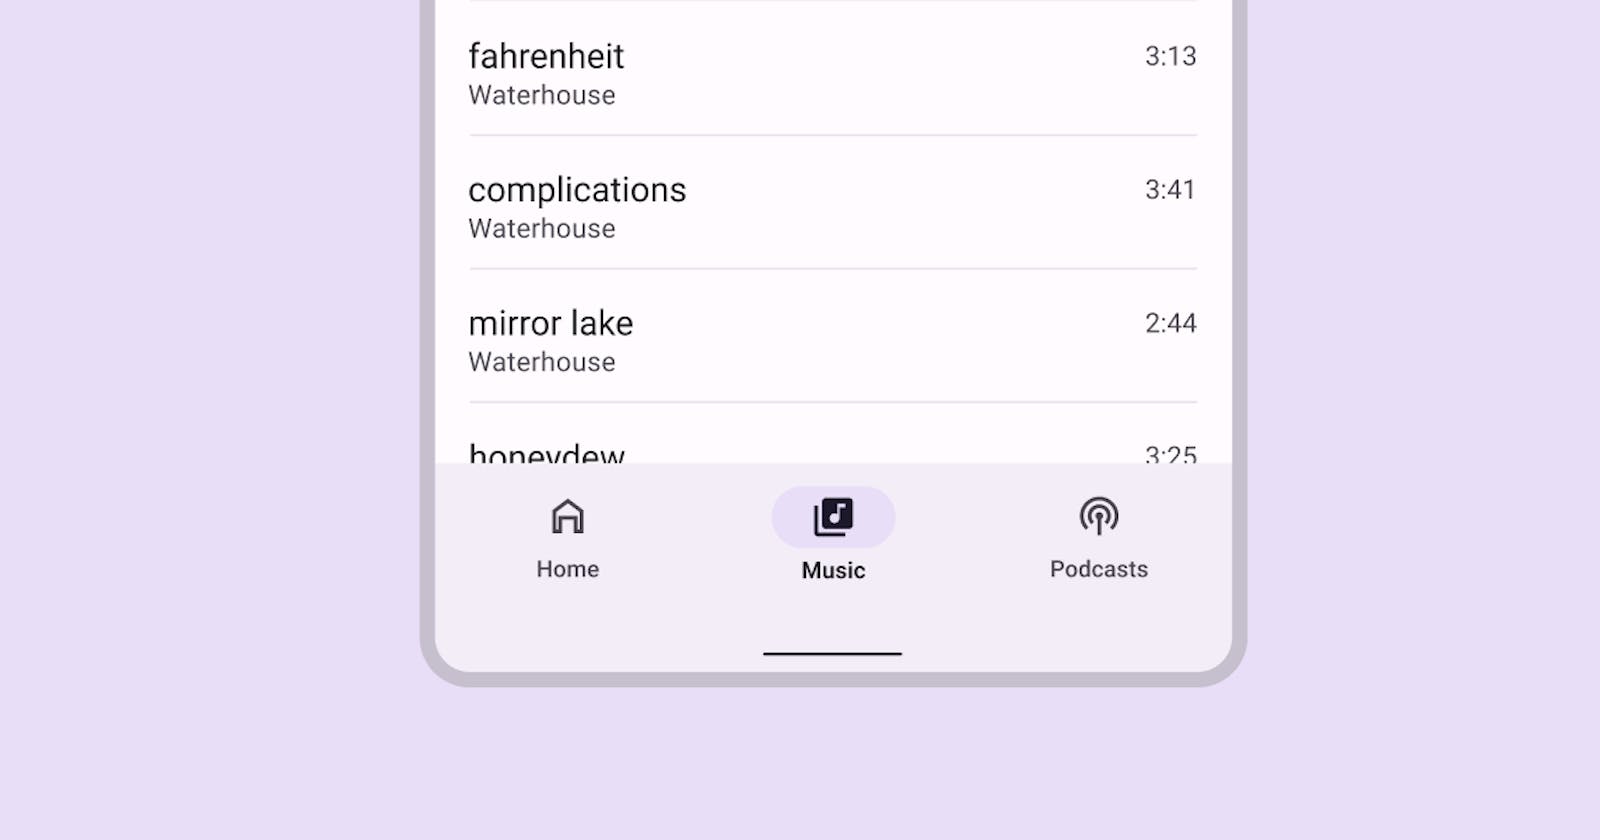
Introduction:
In this comprehensive guide, we will dive deep into the process of implementing Bottom Bar Navigation using Jetpack Compose. Whether you're an aspiring Android developer or a seasoned expert looking to adapt to the latest technologies, this blog post is designed to illuminate every step of the way. To intricately link your navigation components.
To optimize your learning experience, we've ensured this guide follows the best coding practices, embraces modularity, and maintains readability, providing you with not just the "how" but also the "why" behind each step.
Approach:
The approach I followed for the implementation of the Bottom Navigation Bar in Jetpack compose:
We create a sealed class that contains properties of the Bottom Navigation Bar Like:
Title of Bottom Navigation Bar
The icon above the title of the Bottom Navigation Bar
The route, to navigate between Screens.
It also contains the object inside the sealed class, to define the properties of each Screen (title, icon, route).
Then, we create a nav graph where we define the navigation for our Navigation Bar Screens using NavHost.
After defining the sealed class and Nav Graph, we create a Main Screen composable where we add the Navigation Bottom bar destinations and implement the bottom inside Scaffold.
For this, create a Bottom Bar composable and pass the list of Screens to NavBar or Bottom Navigation Bar and add their respective properties and functionalities to Botton Navigation Bar.
Implementation Bottom Navigation Bar:
Assume, we already created 3 Screens :
HomeScreen()
ProfileScreen()
SettingScreen()
You can copy the Simple or Demo Screen code below:
@Composable
fun HomeScreen() {
    ScreenContent("Home")
}

@Composable
fun ProfileScreen() {
    ScreenContent("Profile")
}

@Composable
fun SettingsScreen() {
    ScreenContent("Settings")
}

@Composable
fun ScreenContent(screenName: String) {
    Box(modifier = Modifier.fillMaxSize(),
         contentAlignment = Alignment.Center)
    {
        Text(text = screenname)
    }
}
Bottom Screen Holder:
Create a sealed class BottomBarScreen with some useful properties that are important for navigation as well as Bottom Navigation Bar.
sealed class BottomBarScreen(
    var route: String,
    var icon: ImageVector,
    var title: String
){}
now, add the object for each screen that inherits properties or BottomBarScreen().
 object Home : BottomBarScreen(
        route = "home",
        icon = Icons.Default.Home,
        title = "Home"
    )
    object Setting : BottomBarScreen(
        route = "settings",
        icon = Icons.Default.Settings,
        title = "Setings"
    )
    object Profile : BottomBarScreen(
        route = "profile",
        icon = Icons.Default.Person,
        title = "Profile"
    )
Each object represents each Screen in our Botton Bar Navigation.
Note: if you forget to add navigation dependency then add
  //Add navigation dependency
    implementation("androidx.navigation:navigation-compose:2.6.0")
Don't know about navigation in Jetpack compose? Click below
NavGraph for Bottom NavBar:
Now, we have to create NavGraph for Bottom Bar Navigation as BottomBarNavGraph.
@Composable
fun BottomBarNavGraph(navController: NavHostController) {

    NavHost(
        navController = navController,
        startDestination = BottomBarScreen.Home.route
    ) {
        composable(route = BottomBarScreen.Home.route) {
            HomeScreen()
        }

        composable(route = BottomBarScreen.Profile.route) {
            ProfileScreen()
        }
        composable(route = BottomBarScreen.Settings.route) {
            SettingsScreen()
        }
    }
}
Inside MainScreen as main step:
Nav Graph which we created for our bottom bar Screen, now it's time to implement the final and last step of this.
Create a composable function MainScreen(), basic structure below:
@OptIn(ExperimentalMaterial3Api::class)
@Composable
fun MainScreen(){
    val navController = rememberNavController()

    Scaffold(
        bottomBar = {}
    ) { it
        BottomBarNavGraph(navController = navController)
    }

}
and pass the navController to the BottomBarNavGraph() from our MainScreen composable.
Create a BottomBar() Composable to implement NavBar() inside. It makes it more flexible and easier to use and read the code.
@Composable
fun BottomBar( navController: NavHostController){}
for Bottom Navigation Bar, we need to pass the list of all screens.
var screens = listOf(
        BottomBarScreen.Home,
        BottomBarScreen.Settings,
        BottomBarScreen.Profile
    )
Now, we need navBackStackEntry for track changes Screens on the Bottom Nav Bar.
 val navBackStackEntry by navController.currentBackStackEntryAsState()
 var currentDestination = navBackStackEntry?.destination
Whenever its value navBackStackEntry changes it Notifies.
Before adding Bottom Navigation Bar in App, we have to create item Bottom Bar Navigation Item for this we create a separate Extension composable function of RowScope.
@Composable
fun RowScope.AddItem(
    screen: BottomBarScreen,
    navDestination: NavDestination?,
    navController: NavHostController
){
    NavigationBarItem(
        icon = {
               Icon(imageVector = screen.icon, contentDescription = " NavBar Icon")
        },
        label = {
                Text(text = screen.title)
        },
        selected = navDestination?.hierarchy?.any { it.route == screen.route } == true,
        onClick = {
            navController.navigate(screen. Route)
        })
}
A small issue ccurs when we add,
navController.navigate(screen. Route)
inside onClick(), it causes an issue of creating multiple copies of the Screen. To prevent creating multiple copies of the screen while re-selecting the same item. Add the below code instead.
 navController.navigate(screen.route){
                popUpTo(navController.graph.startDestinationId)
                launchSingleTop = true
 }
@Composable
fun BottomBar( navController: NavHostController){

    var screens = listOf(
        BottomBarScreen.Home,
        BottomBarScreen.Post,
        BottomBarScreen.Profile
    )
    val navBackStackEntry by navController.currentBackStackEntryAsState()
    var currentDestination = navBackStackEntry?.destination

    NavigationBar{
        screens.forEach {screen->
            AddItem(screen = screen,
                navDestination = currentDestination ,
                navController = navController )
        }
    }
}
In the MainScreen composable, call our BottomBar() composable inside the Scaffold bottomBar.
@OptIn(ExperimentalMaterial3Api::class)
@Composable
fun MainScreen(){
    val navController = rememberNavController()
    Scaffold(
        bottomBar = {
            BottomBar(navController = navController)
        }
    ) { it
        BottomBarNavGraph(navController = navController)
    }
}
How it Works:
When we run our application, it calls the MainScreen() from our MainActivity. Then inside our MainScreen(), we have defined a scaffold in which we have defined only a bottom bar and a bottom bar nav graph, so we can navigate between our bottom bar destinations. Now, this bottom nav graph contains just three destinations, home screen, profile screen and settings screen.
Then here we have defined our bottom bar. Inside that bottom bar function, we have called this predefined bottom navigation composable function. And for each screen inside our screens list, add each destination in our bottom navigation. We are going to add one item. and that item will be called this bottom navigation item, which will define some properties of our bottom navigation item, like a label, icon, selected state and on click lambda. Now let's run our application.
Conclusion:
In conclusion, this guide provides a comprehensive overview of how to implement Bottom Bar Navigation using Jetpack Compose.

